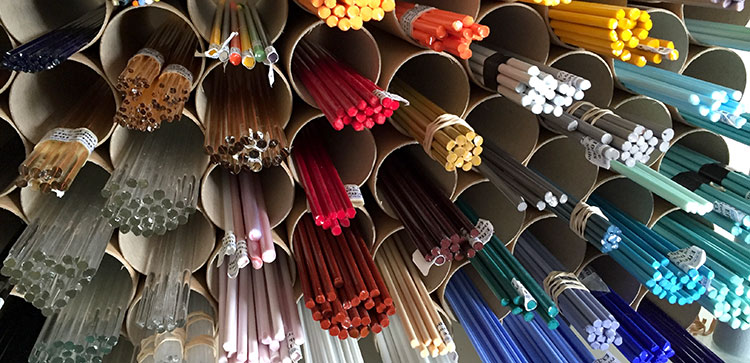
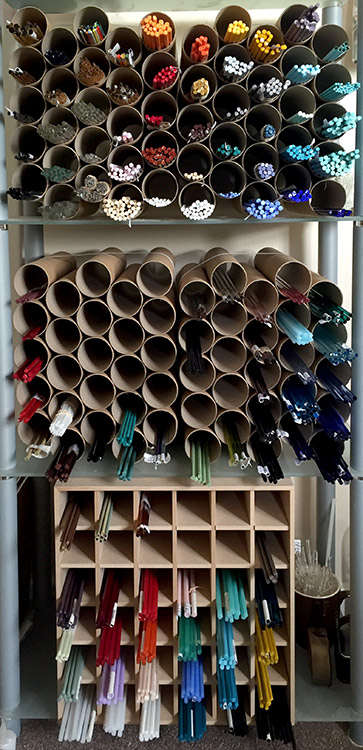
There are hundreds, maybe even thousands of different coloured glasses available to buy today. You can spend hours trying to find that perfect baby pink or even months hunting for that deep azure blue, but what happens when you get your special colour home and then start layering it together with other colours - as you inevitably will?
Glass generally comes in either transparent (see-through) or opaque (none see-through) form. By layering and mixing these colours together you can create an infinite number of different colour and pattern combinations.
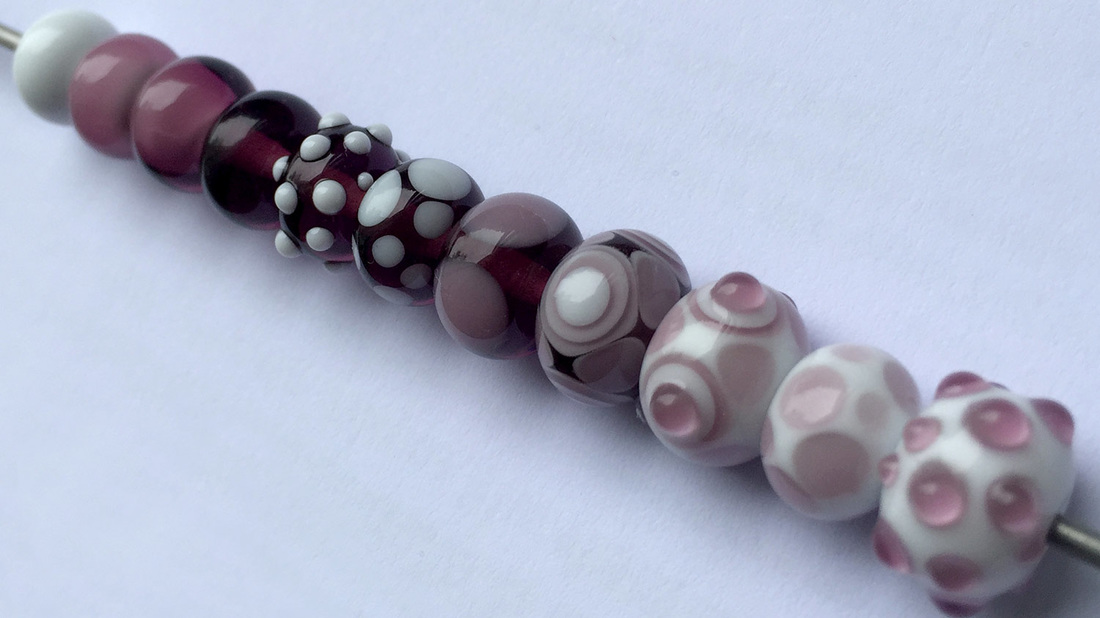
In this blog I will be playing with just two colours, Effetre White and Effetre Mid-Purple, to see what difference the amount of glass, and how you use it, alters the look of a small handmade glass bead.
First off is layering, for this test I made 4 simple beads:
1. Transparent mid-purple
2. Thin core of white with a thick layer of purple encasing (covering) it
3. Thick core of white with a thin layer of purple encasing it
4. Opaque white
Glass generally comes in either transparent (see-through) or opaque (none see-through) form. By layering and mixing these colours together you can create an infinite number of different colour and pattern combinations.
In this blog I will be playing with just two colours, Effetre White and Effetre Mid-Purple, to see what difference the amount of glass, and how you use it, alters the look of a small handmade glass bead.
First off is layering, for this test I made 4 simple beads:
1. Transparent mid-purple
2. Thin core of white with a thick layer of purple encasing (covering) it
3. Thick core of white with a thin layer of purple encasing it
4. Opaque white
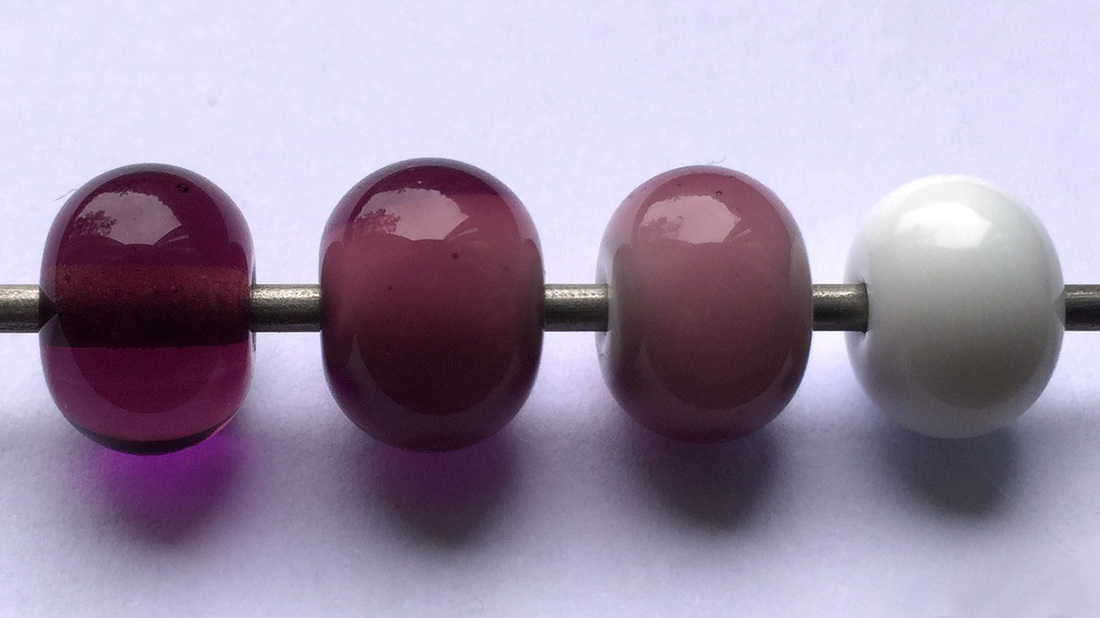 Beads 1-4 left to right | 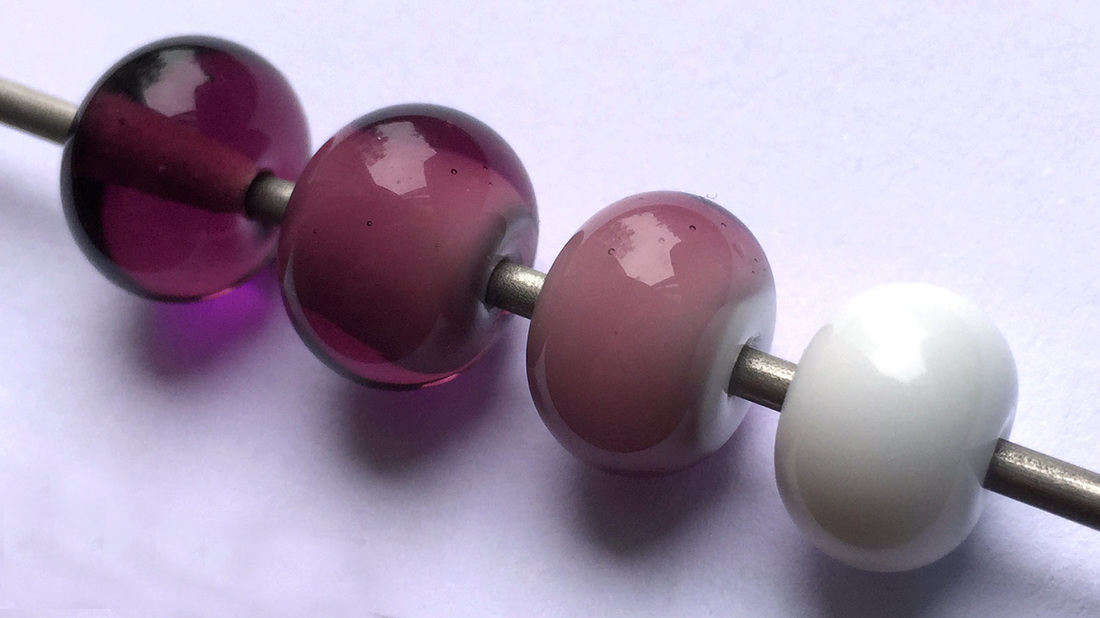 The white cores can just be seen from the side in beads 2 & 3 |
From the above two photos I hope you can see the effect different thicknesses of glass has on the colour and transparency of a bead. With the first, entirely transparent, purple bead (far left) you can clearly see the hole running through it, however with the other three beads you cannot due to the opaque white glass obscuring it.
Using this encasing method you can create thousands of different effects and colours, you can experiment by layering greens over reds, blues over yellows, transparent over transparent even with an opaque underneath! You can add as many layers as you like, just be aware that any opaque layers will obscure all layers below therefore they should only be used as the first layer for this basic technique.
Next is dots, my favourite method of decoration!
Dots are extremely versatile... You can pile them up, spin them, pull them and push them into particular shapes, even manipulate them into lines - but that is a whole book just waiting to be written!
For this experiment however, I was just looking at how the base colour and the number/type of dots effects the colourful look of the beads (photos below). As before I only used Effetre Opaque White and Transparent Mid-Purple:
1. White base with raised purple dots
2. White base bead with flattened purple dots
3. White bead with purple and white layered dots
4. Purple base bead with white then purple layered dots
5. Purple bead with 4 large white dots entirely covered by large purple dots
6. Purple base bead with white flattened dots
7. Purple bead with white raised dots
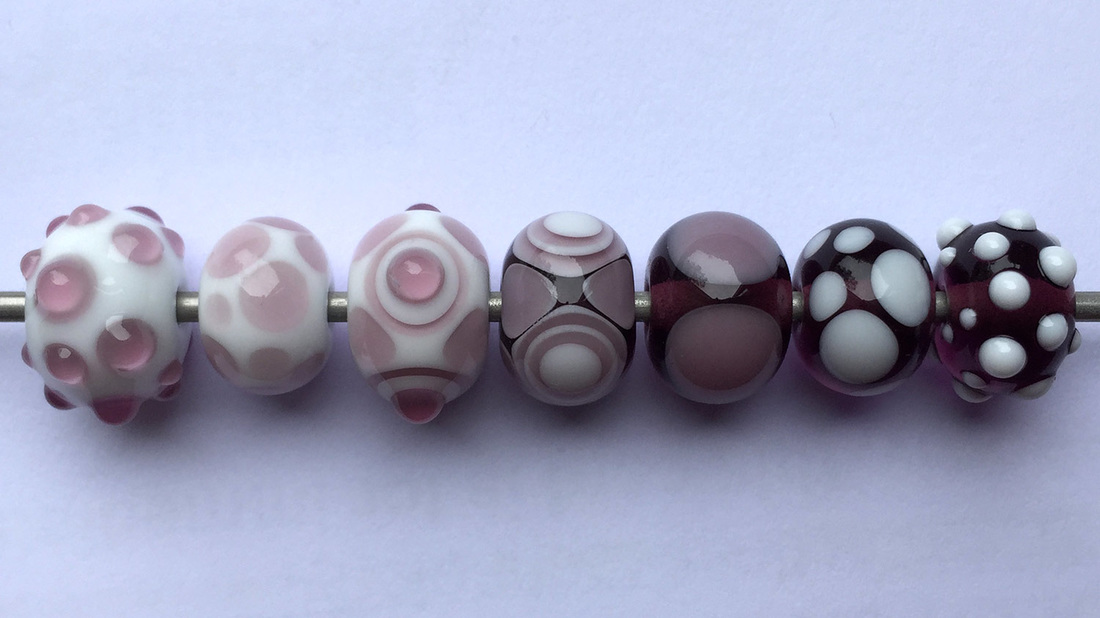 Beads 1-7 left to right | 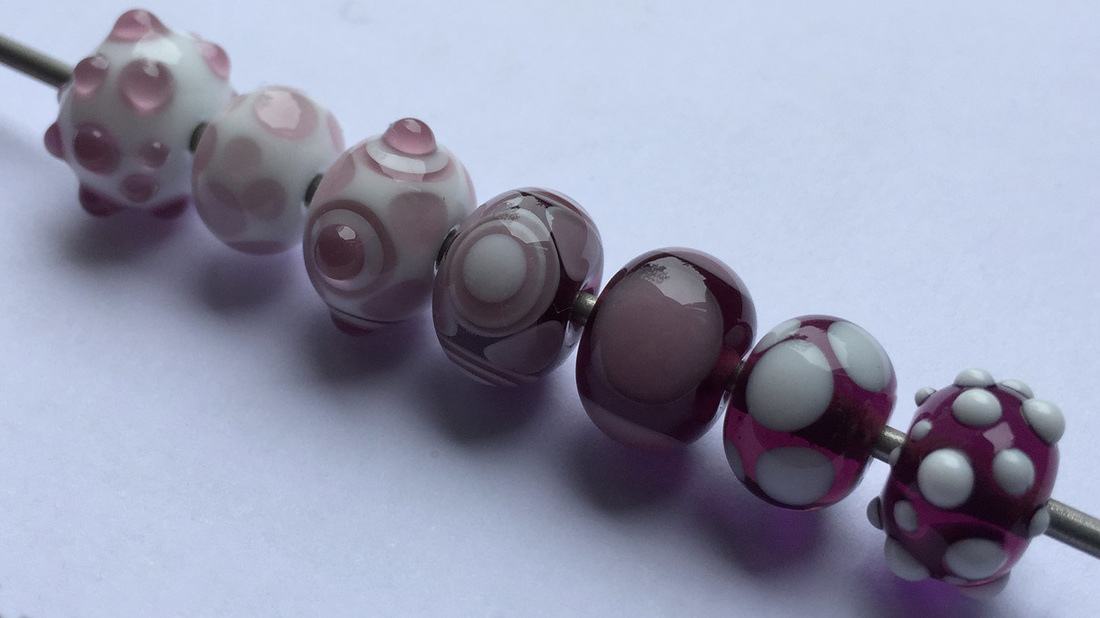 Purple on white Vs White on purple |
As you can see from the above photos, the beads that have a white base are much brighter in appearance and the purple seems lighter than the ones with the deeper coloured base and white dots.
By layering transparent glass with opaque glass you can achieve beautiful shadows, highlights and lowlights throughout the bead. It is worth noting however, that if you try to apply transparent dots on to a transparent base they will often just disappear, therefore it is recommended that you insert a layer of white between the two transparent colours to add definition (as shown on bead 5 above).
In conclusion, the colour and pattern combinations provided by layering glass is almost endless, even if you are just using two types of glass! So I recommend that you get experimenting and make your own tester beads - sometimes things go wrong and colours don't come out as you expected but other times something wonderful happens and you find your own unique dazzling combinations!
Go on, give it a whirl and let me know your results if you like.
 RSS Feed